No matching CineStage section or tool was found.
Getting Started
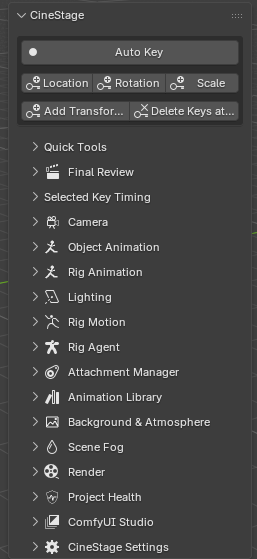
Install CineStage, find its controls, and understand how the add-on connects cameras, animation, lighting, review, and rendering inside one Blender scene.
Recommended workflow
- 01
Install the CineStage ZIP from Blender Preferences > Add-ons.
- 02
Open the 3D Viewport and press N to show the sidebar.
- 03
Choose the CineStage tab. Auto Key remains visible at the top; every production area below it opens only when needed.
- 04
Save the .blend before a major bind, bake, conversion, or render operation.
Tool reference
- Auto Key
- Enables transform key insertion while you pose or move supported objects and controls. Review the current frame before changing a transform.
- Location / Rotation / Scale
- Choose which transform channels CineStage keys when Auto Key is enabled.
- Add Transform Key
- Insert the selected transform channels at the current frame without changing the object.
- Delete Keys at Current Frame
- Remove supported transform keys only at the current frame.
Quick Tools
Common selection, visibility, placement, and viewport actions without leaving the CineStage sidebar.
Recommended workflow
- 01
Select the object or objects you want to affect.
- 02
Run the required visibility, placement, origin, view, or shading command.
- 03
Confirm the change in the 3D Viewport before continuing.
Tool reference
- Hide Selected
- Hide selected objects in the current View Layer without changing render visibility.
- Unhide All / Unhide Object
- Reveal viewport-hidden objects globally or restore one chosen object.
- Selection to Cursor
- Move selected objects to the 3D Cursor.
- Cursor to World / Cursor to Selected
- Place the 3D Cursor at the world origin or at the current selection.
- Origin to Geometry
- Move each selected object origin to its geometry.
- Quick View / Viewport Shading
- Switch to a standard view or shading mode while staying in the same workspace.
- In Front
- Display the selected object in front of other geometry for easier rig and control work.
Selected Key Timing
Edit the timing of selected keys directly, without rebuilding the surrounding animation.
Recommended workflow
- 01
Select the animated object or rig controls.
- 02
Select the keys that should move or scale in time.
- 03
Choose the timing operation and confirm the affected range.
- 04
Play across the edit to verify spacing and continuity.
Tool reference
- Move Selected Keys
- Offset selected keys earlier or later while preserving their relative spacing.
- Scale Selected Timing
- Compress or expand the selected keys around the chosen pivot frame.
- Set Interpolation
- Apply a consistent interpolation type to the selected animation keys.
Camera
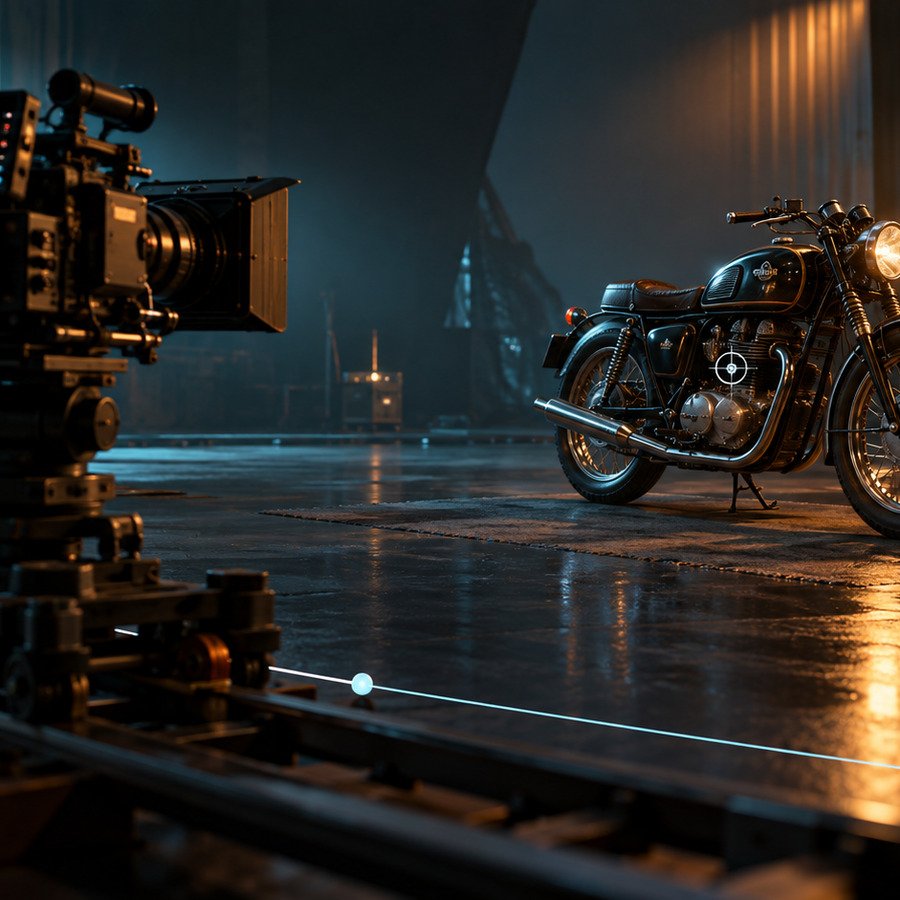
Create and manage cinematic shots, or register an existing Blender camera as a CineStage Shot.
Recommended workflow
- 01
Choose a subject or target when the shot needs framing or aim control.
- 02
Create a new shot, build a guided cinematic shot, or use the selected Blender camera.
- 03
Set the shot start and end frames, lens, framing, focus, and movement.
- 04
Add camera or aim keys at the required frames.
- 05
Enter the camera view and play the complete shot range.
Tool reference
- Create Cinematic Shot
- Build a complete CineStage camera shot from a guided setup.
- New Camera Shot
- Create an independent shot beginning at the current frame.
- Use Selected Camera
- Register the selected standard Blender camera as a CineStage Shot.
- Continue Previous Camera
- Extend the previous camera through the next intended shot range.
- Apply Shot Setup
- Build or update the camera rig, framing, lens, focus, and movement.
- Add Camera Key / Add Aim Key
- Key camera movement or the Aim Target at the current frame.
- Draw Custom Path
- Create a Bezier path and enter the path editing workflow.
- Apply Camera Feel / Add Impact
- Add editable handheld motion or a short impact shake.
Object Animation
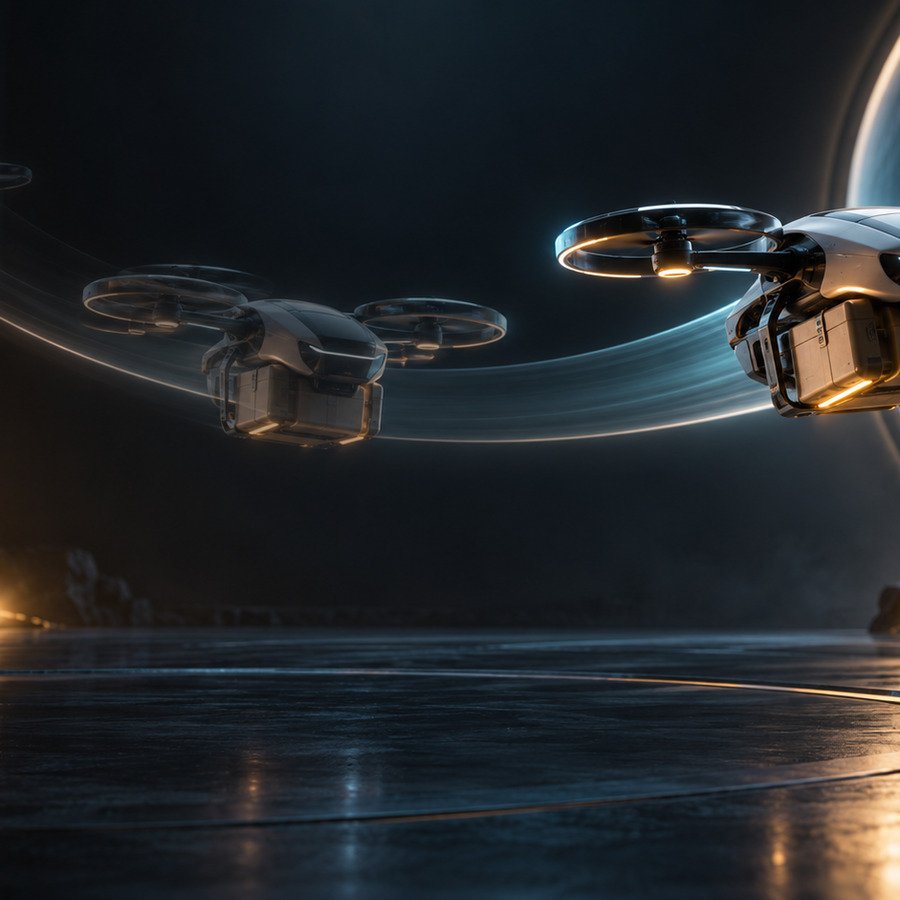
Animate props and scene objects, match motion, change timing, create loops, and convert physics into editable keys.
Recommended workflow
- 01
Use the active object or affect the selected objects as targets.
- 02
Add transform keys or match motion from a source object.
- 03
Apply slow motion, loop, ping-pong, reverse, or timing changes only when needed.
- 04
Configure rigid-body behavior and bake it when the result must become editable animation.
Tool reference
- Use Active Object
- Set the active Blender object as the main animation target.
- Affect Selected Objects
- Apply supported object-animation operations to all selected targets.
- Animation Match
- Transfer world or local position, rotation, and scale from a source to a target.
- Slow Motion
- Retimes a chosen range while preserving the original animation for restoration.
- Motion Range
- Define the exact part of the object animation affected by timing tools.
- Timing & Loops
- Create repeated, ping-pong, or reversed motion and refine key timing.
- Rigid Body
- Configure object physics and convert the simulated result to animation keys.
- Attachments
- Attach an object to another object or rig control and manage the relationship over time.
Rig Animation
Pose and key character controls, organize character shots, switch IK/FK, mirror poses, and refine performance timing.
Recommended workflow
- 01
Select the character rig and establish the character shot range.
- 02
Pose only the controls needed for the current performance beat.
- 03
Insert pose or transform keys at the current frame.
- 04
Use IK/FK conversion, mirror, copy, paste, or timing tools as required.
- 05
Review the whole shot before moving to the next character action.
Tool reference
- Character Shot
- Define the active performance range for a character rig.
- Pose Keying
- Key selected controls or the supported full pose at the current frame.
- IK/FK
- Convert or switch supported limbs using the rig's native snap method when available.
- Mirror Pose
- Mirror supported control transforms between the left and right sides.
- Copy / Paste Pose
- Store a control pose and apply it at another timeline frame.
- Motion Finishing
- Refine timing, holds, easing, and control continuity after blocking.
Lighting
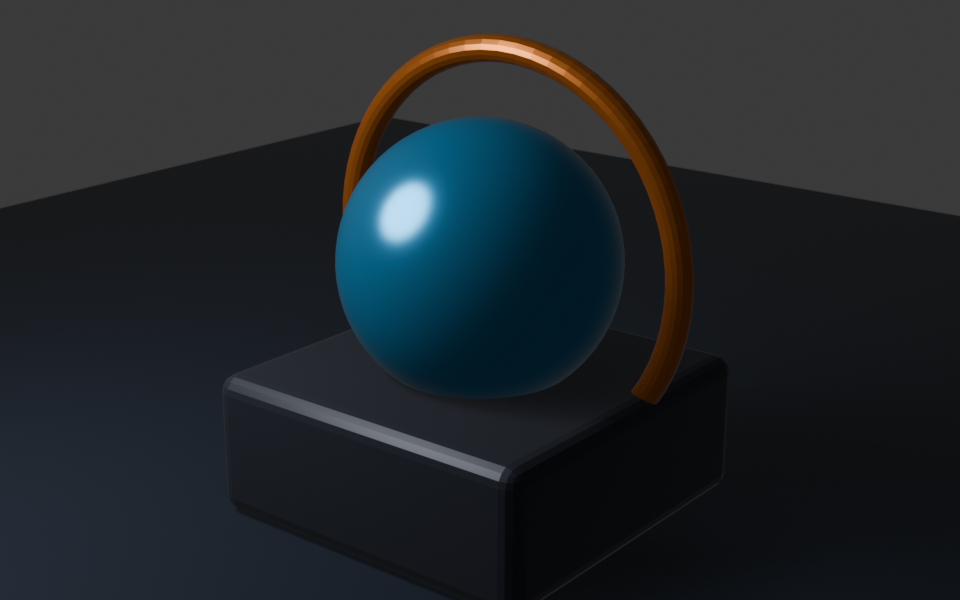
Build editable, camera-aware lighting looks and keep them connected to the subject and shot.
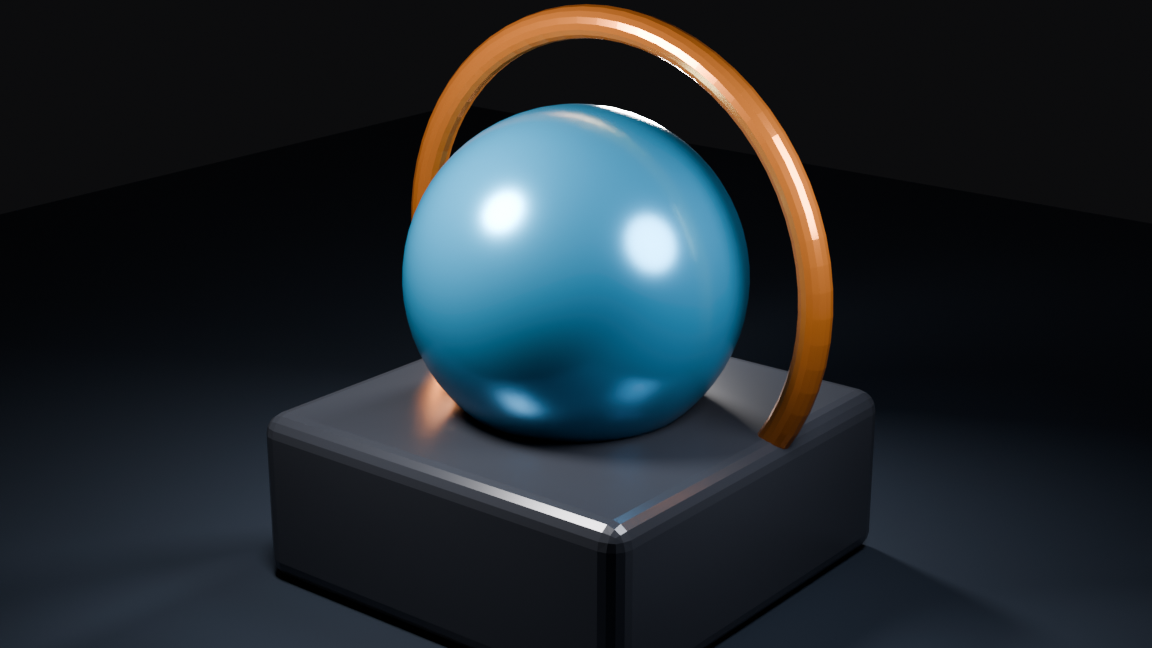
Recommended workflow
- 01
Choose selected objects as the lighting target.
- 02
Use the active camera or the active CineStage Shot.
- 03
Create a lighting look and preview it in Rendered shading.
- 04
Tune intensity, color, size, distance, follow, and aim behavior.
- 05
Assign the finished look to the required CineStage Shot.
Tool reference
- Use Selected as Look Target
- Use all selected supported objects as the active lighting target.
- Use Active Camera / Active Shot
- Build camera-relative lighting from Blender's camera or the current CineStage Shot.
- Create Lighting
- Analyze the target and create a non-destructive lighting look.
- Reframe Lighting
- Recalculate placement after the target size or camera composition changes.
- Follow / Aim
- Make a light follow an object, aim at a target, or combine both behaviors.
- Solo Light / Enable All Lights
- Inspect one light independently, then restore the complete look.
- Assign Look to Shot
- Activate this lighting look whenever the assigned CineStage Shot is used or rendered.
Rig Motion
Import FBX motion, map it to a character, assemble clips, create travel, and clean foot or hand contacts.

Recommended workflow
- 01
Select and prepare the destination character rig.
- 02
Add one or several FBX motion files.
- 03
Review or correct the source-to-target bone mapping.
- 04
Retarget the clips and arrange their order, loops, speed, and blends.
- 05
Build the sequence, then apply travel or Motion Cleanup if required.
Tool reference
- Setup Rig
- Prepare the selected armature as the destination for motion tools.
- Add FBX
- Import one or multiple FBX motion files into the motion list.
- Auto-detect Mapping
- Propose a source-to-target bone mapping for common skeleton structures.
- Retarget
- Transfer the selected source action to the prepared destination rig.
- Build Sequence
- Assemble the ordered clips on the destination timeline.
- Travel
- Convert in-place movement into controlled forward travel when appropriate.
- Motion Cleanup
- Reduce foot sliding and create supported contact locks after retargeting.
Rig Agent
Analyze a humanoid character, correct editable landmarks, build the native CineStage rig, bind the meshes, and validate deformation.
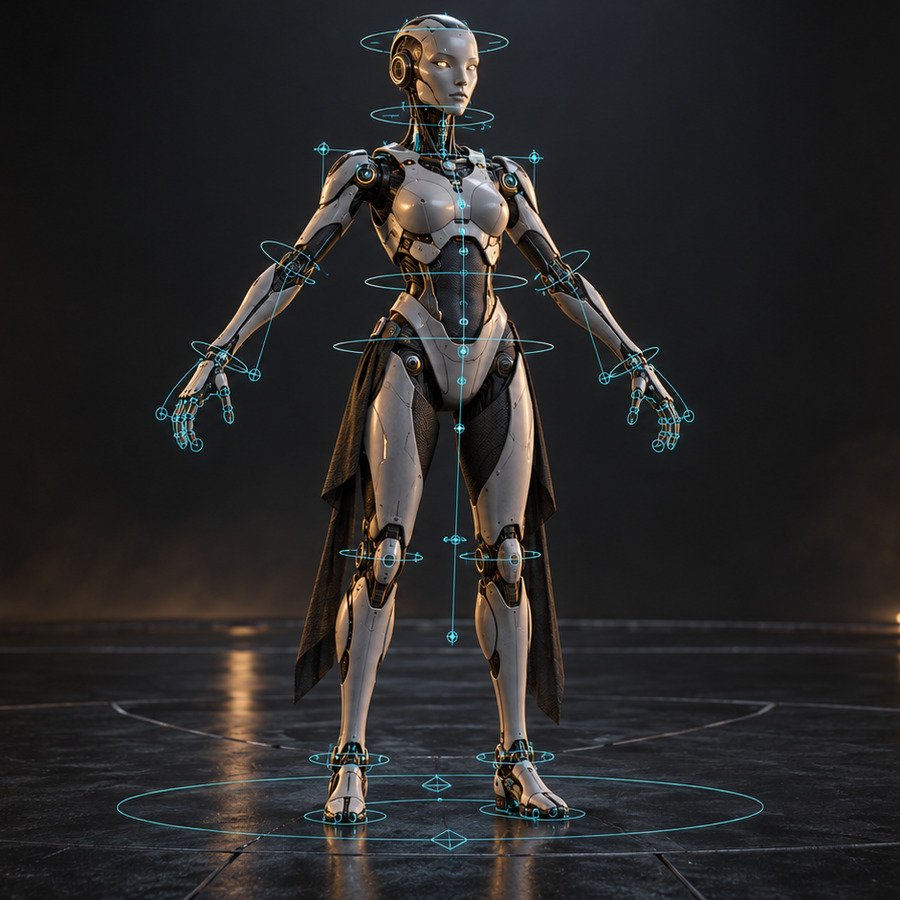
Recommended workflow
- 01
Select every mesh that belongs to the character, including separate body parts when required.
- 02
Choose whether the character has fingers, then run Analyze.
- 03
Inspect the proposed landmarks and correct shoulders, elbows, wrists, hips, knees, ankles, and fingers.
- 04
Build the rig guide, make any final guide correction, and generate the control rig.
- 05
Bind the character and run Check Binding before animation.
Tool reference
- Use Selected
- Use the selected mesh or multi-part mesh set as the character.
- Analyze
- Read the character proportions and create editable anatomical landmarks.
- Adjust Markers / Confirm Selected
- Move uncertain points manually and confirm reviewed landmarks.
- Build Rig Guide
- Create the fitted skeletal guide from the reviewed landmarks.
- Build Rig / Generate Rig
- Generate the animator-facing control rig.
- Bind Character
- Create and validate deform weights for the selected character meshes.
- Check Binding
- Verify the armature link and real deform weights across the character.
- Retry Volume Weights / Rescue Bind
- Use the appropriate recovery method when automatic binding leaves unweighted areas.
Attachment Manager
Attach props to objects or character controls, change the parent relationship during animation, and preserve the visible position when required.
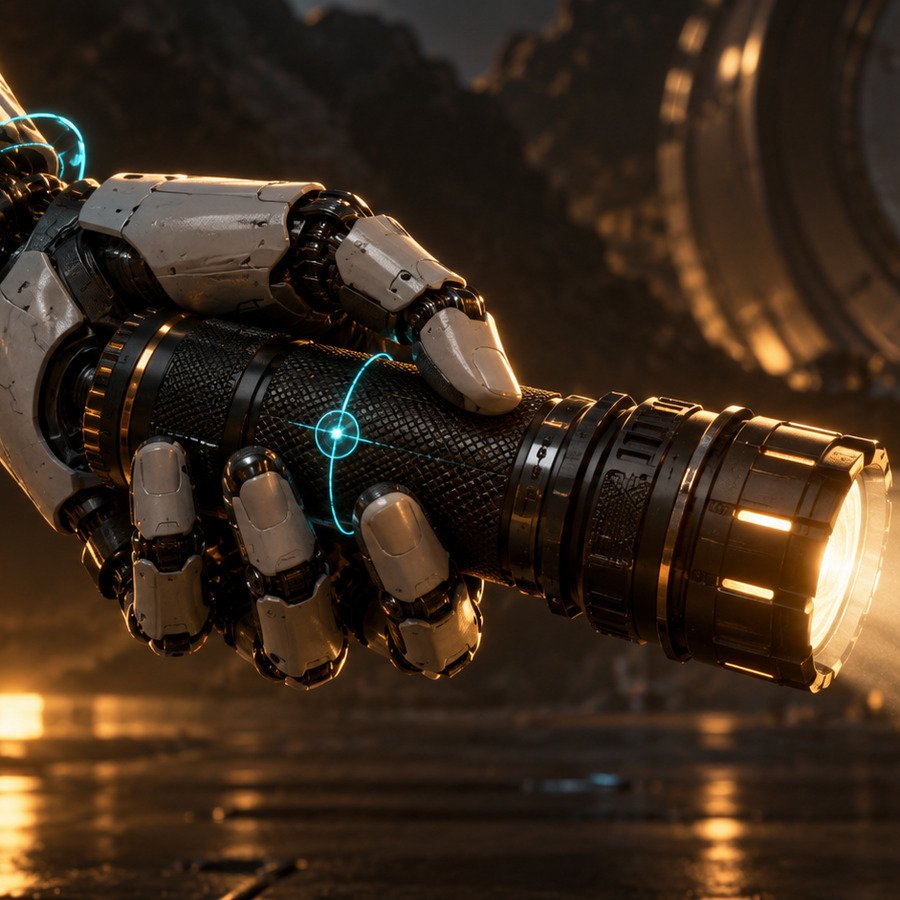
Recommended workflow
- 01
Select the prop that should be attached.
- 02
Choose the destination object, bone, or supported rig control.
- 03
Create the attachment and decide whether to keep the current world transform.
- 04
Key or change the relationship at the required timeline frame.
Tool reference
- Attach
- Create the supported relationship between the selected prop and target.
- Keep Transform
- Preserve the current visible position when the attachment is created or changed.
- Detach
- Remove the active attachment while preserving the object for continued animation.
- Attachment Keys
- Control when the relationship becomes active during the shot.
Animation Library
Save reusable character animation and apply it later without erasing the motion already placed on the timeline.
Recommended workflow
- 01
Select the rig and the animation range to save.
- 02
Name and save the reusable animation to the library.
- 03
Move the playhead to the frame where the new motion should begin.
- 04
Choose the saved animation and apply it from the current frame.
- 05
Review any overlap warning before confirming the operation.
Tool reference
- Save Animation
- Store the selected rig action or range as a reusable library motion.
- Apply Animation
- Insert the saved motion beginning at the current timeline frame.
- Apply Anyway / Cancel
- Resolve a detected overlap with existing animation before any keys are added.
- Library Management
- Rename, organize, refresh, or remove saved animation entries.
Background & Atmosphere
Add stage backgrounds, atmospheric elements, and custom image or video media.

Recommended workflow
- 01
Choose the background, atmosphere, or custom media category.
- 02
Select the required asset and add it to the current scene.
- 03
Position, scale, and orient it for the active camera.
- 04
Verify transparency, playback, and render visibility before final output.
Tool reference
- Add Stage Background
- Add a selected transparent background with its prepared material.
- Add Stage Atmosphere
- Add a transparent fog, smoke, or atmosphere element.
- Add Custom Media
- Import a PNG, GIF, or video as a CineStage media card.
- Replace Custom Media
- Change the source media while preserving supported scene placement.
Scene Fog
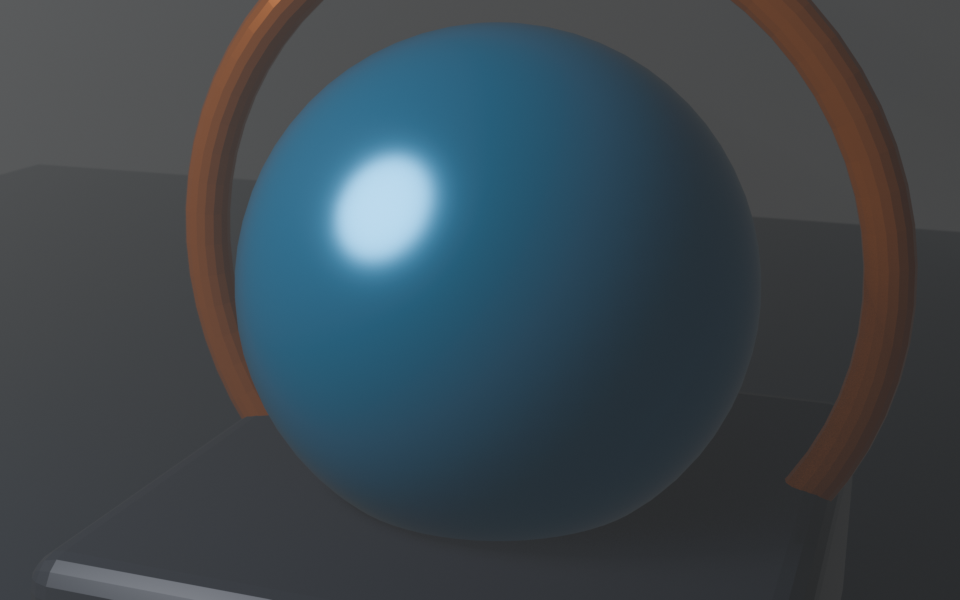
Create adjustable volumetric depth without mixing fog controls into unrelated stage settings.
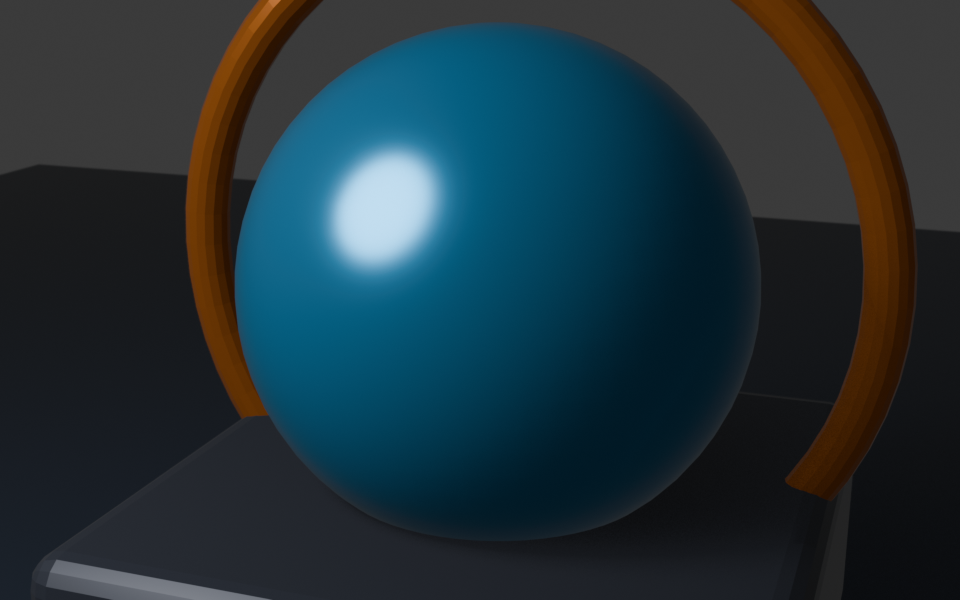
Recommended workflow
- 01
Choose whether the fog domain should fit the whole scene or selected meshes.
- 02
Create Scene Fog and choose the required style.
- 03
Adjust density, height, tint, light direction, and volume quality.
- 04
Compare the result from the active camera and disable the fog temporarily when needed.
Tool reference
- Create Scene Fog
- Create or update the CineStage photoreal fog domain.
- Auto Domain
- Fit the fog around all supported scene meshes instead of selected meshes only.
- Enable Fog
- Temporarily disable or restore the fog without deleting its setup.
- Density / Height / Fog Color
- Control the main visible properties of the volume.
- Volume Quality
- Choose the intended quality and performance level for volumetric rendering.
- Remove Scene Fog
- Delete only the CineStage-owned fog system.
Final Review
Review every registered CineStage Shot, set its production status, confirm the order, preview the sequence, and deliver the complete film.
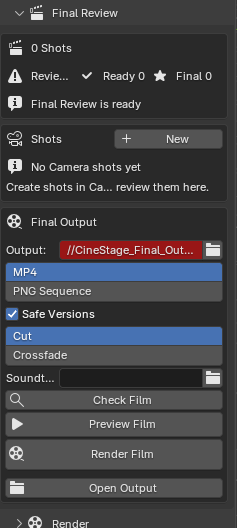
Recommended workflow
- 01
Create or register every required camera in the Camera section first.
- 02
Open Final Review and refresh the shot previews when the compositions are ready.
- 03
Review each shot range, camera, thumbnail, issue list, and production status.
- 04
Move shots earlier or later until the film order is correct.
- 05
Run Check Film, preview the full sequence, then choose MP4 or PNG Sequence for final output.
Tool reference
- New
- Create a CineStage Shot for review. A camera must be available for the shot.
- Refresh Preview / Refresh All Previews
- Render a current thumbnail for one shot or every shot.
- View / Play
- Open the shot camera at its start or play its registered frame range.
- Needs Review / Ready / Final
- Record the production state of each shot.
- Move Earlier / Move Later
- Change the final film order without dragging an unclear canvas.
- Check Film
- Validate every registered shot, camera, frame range, and output setting.
- Preview Film
- Play all registered shots as one ordered sequence inside Blender.
- Render Film
- Render every shot once as one MP4 or one continuous PNG sequence.
Render
Validate a prepared shot queue, repair safe setup issues, package external files when required, and render in shot order.
Recommended workflow
- 01
Add the required registered CineStage Shots to the queue.
- 02
Review every frame range and output location.
- 03
Run Preflight and read every warning before rendering.
- 04
Apply Fix Safe Issues only to unambiguous setup problems.
- 05
Pack external files when portability is required, save the .blend, and start the queue.
Tool reference
- Run Preflight
- Check cameras, output, files, frame ranges, and render visibility.
- Fix Safe Issues
- Repair only issues that do not require a creative decision.
- Pack External Files
- Pack supported linked assets into the current .blend for portability.
- Start Render
- Render the prepared CineStage Shot queue in order and restore the original scene state afterward.
- Open Render Output
- Open the configured output folder.
Project Health
Inspect the CineStage data in the current .blend and repair safe metadata problems without deleting creative work.
Recommended workflow
- 01
Run Check CineStage Project.
- 02
Read the report by severity and identify the affected shot, rig, light, or range.
- 03
Use Repair Safe Issues when offered.
- 04
Correct any remaining creative or missing-file issue manually, then run the check again.
Tool reference
- Check CineStage Project
- Validate shots, animation ranges, lighting looks, references, and stable IDs without changing the file.
- CineStage Project Report
- Show the complete result from the most recent project check.
- Repair Safe Issues
- Repair stable IDs, invalid ranges, and derived timeline metadata without deleting user data.
ComfyUI Studio
Connect an optional local ComfyUI installation to Blender renders and reusable image workflows.
Recommended workflow
- 01
Detect the computer hardware and verify or install a supported ComfyUI package.
- 02
Start the local server and test the connection.
- 03
Add a workflow exported in API format.
- 04
Capture the current Blender Render Result or choose another supported input.
- 05
Generate, review the returned output, then use it as an input, material, or World when appropriate.
Tool reference
- Detect Hardware / Check Installation
- Identify the Windows graphics adapter and validate the configured portable installation.
- Download & Install / Update ComfyUI
- Install or update the supported local ComfyUI package.
- Start / Stop / Test Connection
- Manage and verify the CineStage-connected local server.
- Add Workflow
- Register a JSON workflow exported with Save (API Format).
- Capture Render Result
- Save Blender's current render as the main workflow input.
- Generate with ComfyUI
- Submit the selected API workflow and retrieve its saved outputs.
- Use as Input / Apply as Material / Set as World
- Send a selected result to the next supported production step.
CineStage Settings
Configure interface behavior, production paths, reusable workflow presets, and optional integrations.
Recommended workflow
- 01
Review the interface and workflow defaults after installation.
- 02
Set library, render, media, and integration paths to stable locations.
- 03
Save a workflow preset when the same production settings will be reused.
- 04
Save Blender preferences after changing installation-wide settings.
Tool reference
- Workflow Presets
- Save, apply, rename, organize, or delete reusable CineStage settings without replacing scene objects.
- Paths
- Choose persistent locations for renders, libraries, media, and optional integrations.
- Interface Preferences
- Control supported CineStage panel and workflow behavior.